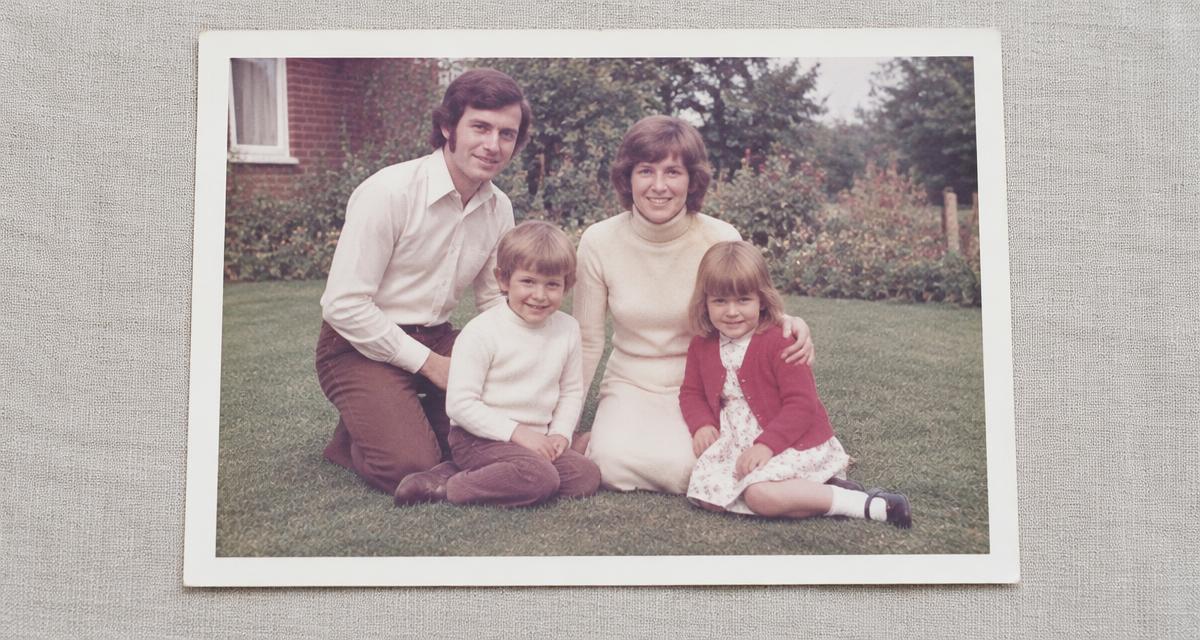
Faded colour is different from a black-and-white photograph
An old colour print may look pink, yellow or washed out even when faces are still clear. Correcting that print means working with the colour information that remains. Colourizing a black-and-white image is different: colours are estimated because the source contains no direct colour record. Decide which task you need before choosing a picture.
The example at the top is an illustration of a faded print, not a customer result or a promised outcome. Every source is different. A visibly faded image may retain useful detail, while a bright-looking scan can still have clipped highlights or a damaged colour channel.
Make a colour copy before changing anything
Scan the print in colour or photograph it in soft, even light. Avoid direct flash, coloured lamps and reflections. Keep the complete image and save the untouched file. A phone filter or automatic enhancement can make the first copy look attractive while hiding information that matters when comparing a restoration.
If the scan looks very different from the paper print, check the scanner settings or make another capture. Compare both copies before editing. A clean source is often more useful than trying to compensate for glare or a strong lighting tint later. Do not clean or treat a fragile print with liquids to improve its colour.
Judge colour casts without inventing certainty
A single colour cast across the whole image may be reduced, but the original balance is not always knowable. Lighting, film, paper and earlier copying all affect appearance. A neutral-looking wall can help you compare versions, but it is not proof that the wall was white. Familiar faces should remain recognisable rather than becoming a modern portrait.
If your family remembers a coat or room colour, record that memory separately and say who supplied it. Do not turn an uncertain recollection into a factual caption simply because a restored picture looks convincing. When the source has almost no reliable colour left, a restrained result may be more honest than vivid saturation.
Compare the source and result closely
Check faces, expressions, clothing and small objects against the original. An improvement in contrast should not introduce different facial features. Look at bright and shadowed areas as well as the overall colour. A pleasing version can still contain an incorrect detail.
Use the before-and-after view to decide whether the result suits your photograph. If important details look wrong, request a redo or contact us about the guarantee. Severe fading, large missing areas and very heavy blur can limit the outcome. No restoration can establish exactly what a destroyed detail looked like.
Keep both versions for the family
Store an untouched colour scan next to the restored version. Use a clear file name and record the album, approximate date and names you know. A family-history researcher may need the original evidence even when a restored copy works better for an album or presentation.
Download your copies and keep a backup outside any single online service. You can organise one restored photograph in several family albums without restoring it again. Ask relatives to add context, not to treat newly visible or estimated detail as a verified historical fact.
Choose the right next guide
For scratches and tears, read our damaged-photo guide. For an originally black-and-white picture, use the colourization guide. If you have only a paper print, start with digitization. These are different steps, and a careful digital copy is the foundation for all of them.