Start with the original, not the software
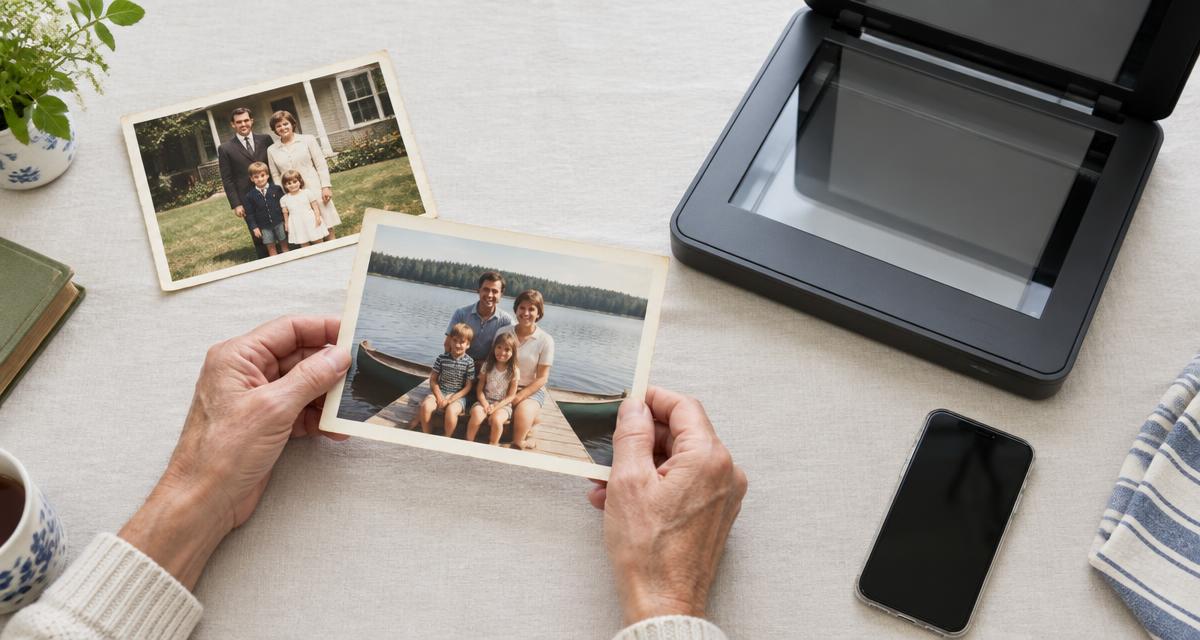
Digitizing makes a digital copy of a print. Restoration then works on that copy to reduce visible damage. PhotosReborn restores uploaded digital photographs; we do not receive paper prints, negatives or slides for scanning. A phone or flatbed scanner can be a practical starting point for ordinary prints. Negatives and slides need equipment designed for those originals.
Before you begin, group photographs by album or family branch. Give each picture a simple number and keep a note of where it came from. Ask relatives about names while the original is still at hand. Record an approximate date as approximate, not as an established fact. This small preparation makes a growing collection much easier to understand.
Phone or scanner: choose for your collection
A phone is convenient for a few prints and for pictures that should remain in an album. A flatbed scanner offers repeatable lighting for a larger collection of stable, loose prints. Neither choice recovers detail that was never in the original. Begin with one representative picture and inspect the saved file before copying the whole collection.
For many ordinary small prints, 300 to 600 dpi is a useful scanning starting point. The print size and intended use matter: a tiny photograph planned for enlargement may need a higher setting. Scan in colour even for a black-and-white original to retain paper tone and stains in your master copy. Do not repeatedly enlarge a low-resolution file and assume the extra pixels contain new information.
Keep glare and blur out of a phone capture
Place a stable print on a flat surface in even, soft daylight. Hold the camera parallel to the paper, include all four edges and focus on the photograph. Avoid direct flash and check for reflections across faces. If the print is behind glass, change the angle of the light rather than forcing the photograph out of its frame.
Look closely at the saved image before uploading it. A bright reflection cannot be corrected reliably if it hides the picture beneath it. Retake the photograph with steadier hands or different light when possible. Our photographing guide covers the camera setup in more detail.
Handle fragile prints cautiously
Hold photographs by their edges with clean, dry hands and work on a clean surface. Do not force a curled or brittle print flat, peel apart stuck photographs or remove a print glued to an album. Photograph it in place if that is the safer choice. For mould, flaking surfaces or a print stuck to glass, ask a photographic conservator about handling the original.
Digital restoration changes a file, not the physical print. It cannot clean mould, repair paper or make a damaged original safe to handle. Keep any inscriptions and the album context as separate photographs or notes. When a page contains text and a photograph, upload only a crop of the photograph for restoration.
Keep a master and a working copy
Save the original camera or scanner file before editing. A scanner master in a lossless format can be useful for your own archive; make a good-quality JPEG or PNG copy for upload. Avoid screenshots and repeated transfers through messaging apps, which can reduce detail. Keep names and source notes alongside the files.
Use a second storage location for irreplaceable photographs and check that the copied files open. A restored version should not silently replace the original scan. Name the versions clearly so a relative can tell which is the source and which has been restored or colourized.
Restore one representative photograph first
Choose a digital copy where the people are still visible. Try a free preview to assess that particular source, then compare the result with the untouched copy. Scratches and fading can often be reduced, but a missing face or very heavy blur has genuine limits. A plausible reconstruction is not proof of historical detail.
Save the finished result and the original in your own archive. You can organise restored photographs into family albums and share selected pictures with relatives. Keep source information and uncertain identifications in your notes. The aim is a collection that is both easier to see and easier for the next generation to understand.
Further reading
For practical phone capture instructions, see Google Photos Help, “Scan your photos”. For comparing home digitization methods, see ifolor’s guide to digitizing photographs. The links below open those guides.